Semantic Search
Until now, finding someone in eConnect meant already knowing who they were — a name, an enrolled face, a plate. Semantic Search finds people and vehicles by describing them: a red shirt, a purple hat, a red Honda Accord.
No enrolment. No prior identity. Just what somebody looked like.
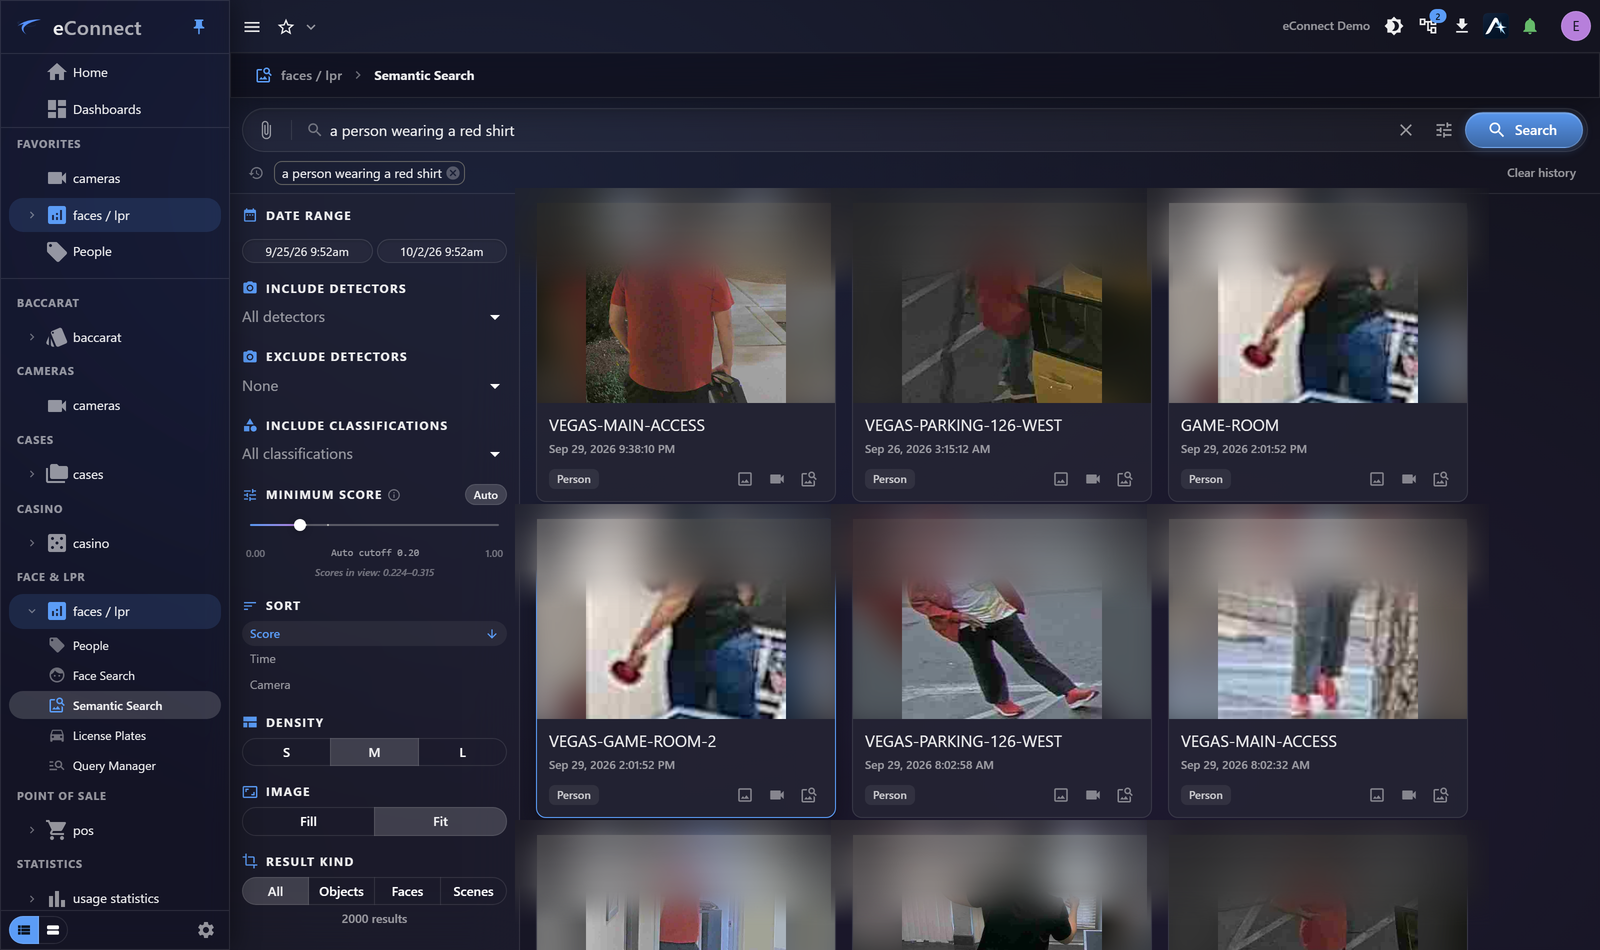
Find it under faces / lpr ▸ Semantic Search. It appears only where your organisation has the capability licensed and your permissions allow it.
Why it matters
In the first hour of an incident, nobody can tell you who they are looking for. What they can tell you is what the person was wearing, or what the car looked like. Semantic Search is built for exactly that gap — the period when a description is all the information that exists.
It is also useful long after the fact, when you know the description from a statement but never had an identity to search on.
How it differs from face search
| Semantic Search | Face Search | |
|---|---|---|
| What you supply | A description, or an image | A photograph of a face |
| What it matches on | Appearance — clothing, colour, vehicle type | Facial recognition |
| Needs enrolment | No | Matches against enrolled subjects |
| Best for | "Who was wearing a red jacket?" | "Is this person known to us?" |
They answer different questions and are often used in sequence: find candidates by description, then confirm identity by face.
More than one description at a time
A single description cannot say what you are not looking for, and cannot say which part of it matters most. Advanced query adds both: several things to match and several to steer away from, each carrying its own weight, blended into one search that re-ranks the moment you adjust it. See Advanced Query.
Searching by image
As well as typing a description, you can supply an image and search for visually similar ones. This finds the same person or vehicle appearing elsewhere without needing them enrolled — useful for tracking a single sighting across cameras and time.
What a result gives you
Each result is a real detection, so it comes with its image, where it was seen and when. From there you can view the full-size image, view the whole camera frame rather than the crop, and open the cameras associated with that location.
That path — description, to detection, to footage — is covered in From a Result to the Evidence.
Where to go next
- Writing a Good Description — what works and what does not
- Advanced Query — weighted prompts, and things to steer away from
- Filtering and Refining Results — narrowing by time, camera and classification
- From a Result to the Evidence — getting to the footage