Signing In
The Identities web app is a single-page application served from your Identities server (or launched from your eConnect Cloud Portal dashboard). To use it you need a valid eConnect account and at least one permission that grants access to a module.
Signing In
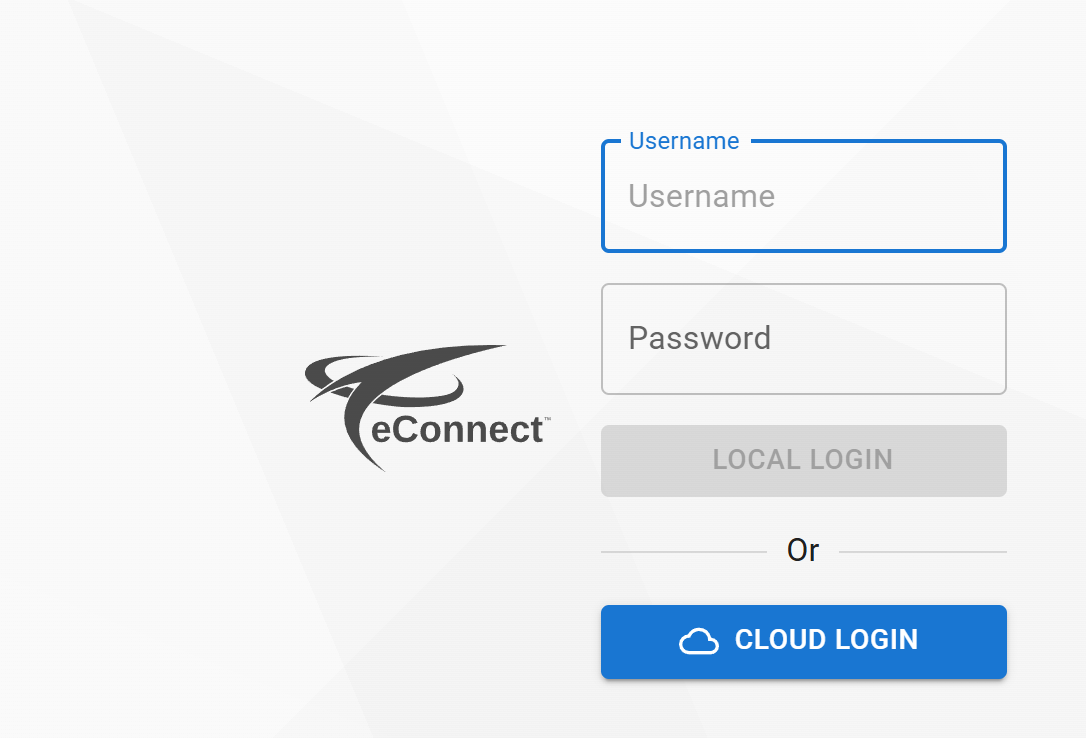
- Open the Identities URL for your site in a modern browser (Chrome, Edge, Firefox, or Safari).
- Enter your username and password on the login page.
- Select Sign In.
Once signed in you land on the Home page, where the menu on the left reflects the permissions your account has been granted.
If you cannot sign in, contact a System Administrator for your site. They can reset your password from the System Administration → Users & Roles page.
Permissions Shape the Menu
Identities is strictly permission-driven. When you sign in, the menu hides any section you do not have a permission for — so different users see different menus.
Permissions are organized by category in the Security Role Editor. Use the names below exactly as they appear in the editor.
| If your account has... | You will see... |
|---|---|
| Identities → Read All Identity (or any other Identities read permission) | The Identities section — Search, and when paired with other permissions, Audit and Add Identity |
| Live Monitoring → Live Monitor Viewer | The Live Monitor entry under the Main section |
| Users → Read Users / Roles → Read Roles | System settings under the System section |
| Any permission under Tags (Add / Edit / Delete / Read) | Manage Tags under the System section |
| Any permission under Identity Entity Fields | Configured Fields under the System section |
| Publishing Points → Publishing Point Administrator | Publish under the System section |
| Subscriptions → Subscription Administrator | Subscribe under the System section |
| Audit → Audit Logs | The global Audit page under the Identities section |
| Administration → Super User | Everything, regardless of other permissions |
If a user reports that a button or page "is missing", they're almost always missing the underlying permission for it. Open the Security Role Editor under System settings → Roles, find the role assigned to the user, and look under the matching category for the right checkbox.
Signing Out
Open the user menu in the upper-right corner of the header and choose Sign out. Any in-progress edits are discarded if you do not save first.