Initial Configuration
When installing eConnect into Genetec Security Center for the first time, the eConnect server address must be configured first. This configuration sets the information that will be used by all users.
🚀 Quick Start Checklist
Before you begin, ensure:
- ✅ eConnect Genetec Security Center MSI is installed
- ✅ You have administrator access to the Config Tool
- ✅ eConnect server details (IP address or DNS name) are available
⚙️ Configuration Steps
Step 1: Access eConnect Setup
- Install the eConnect Genetec Security Center MSI on a Genetec workstation
- Log in to the Config Tool as an administrator
- Access the eConnect Setup:
- Click on the eConnect Setup icon within the Config Tool
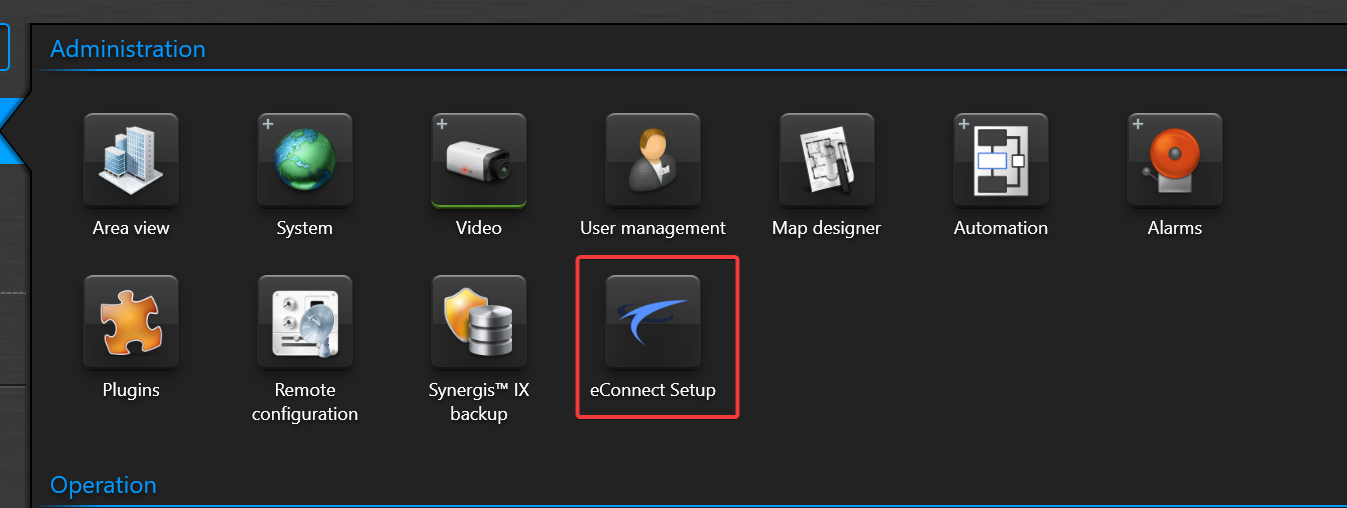
- Click on the eConnect Setup icon within the Config Tool
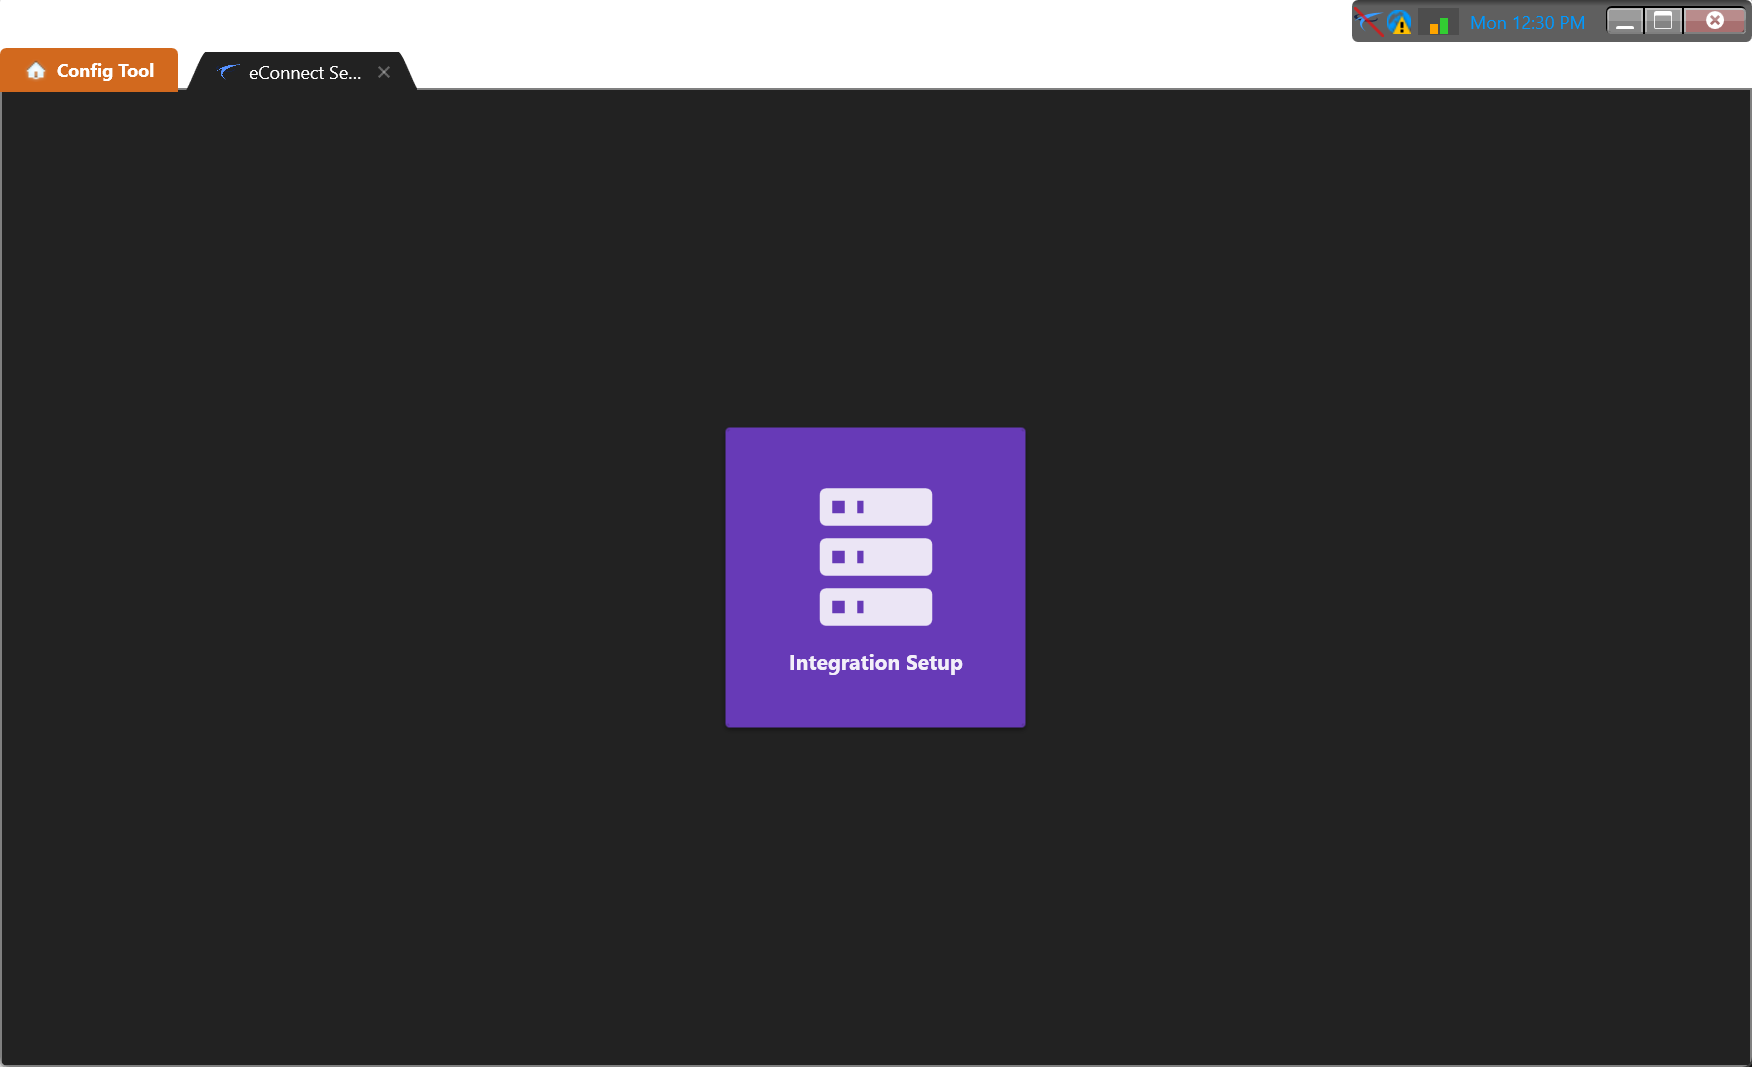
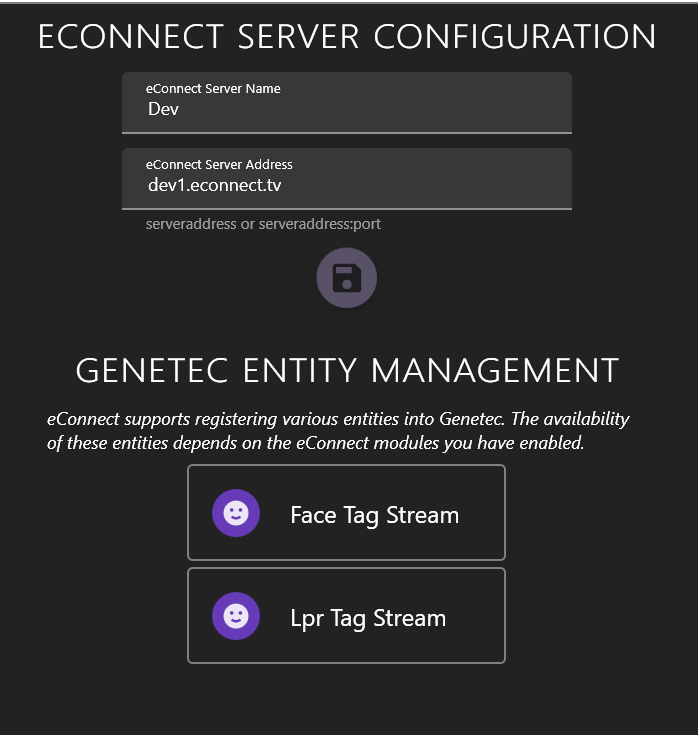
Step 2: Configure Integration Settings
- Click the Integration Setup option
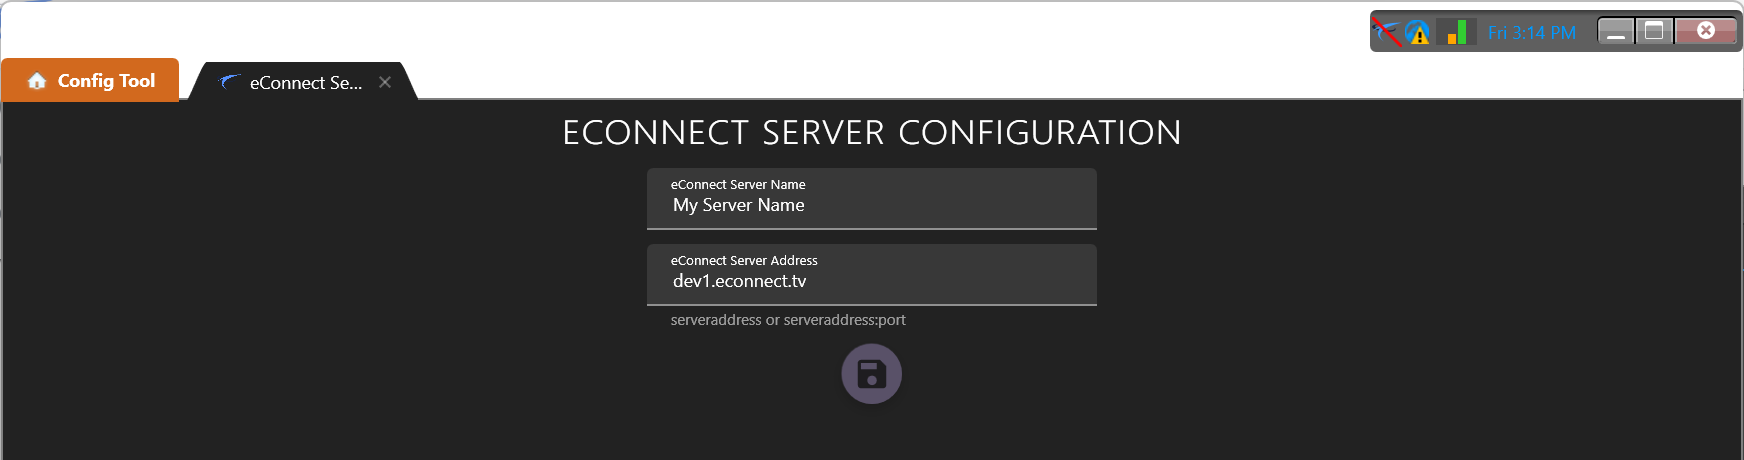
- Enter a descriptive server name (e.g., "eConnect Server" or "Cloud Server")
- Provide the correct IP address or DNS name of the eConnect server
- Click Save to finalize the configuration
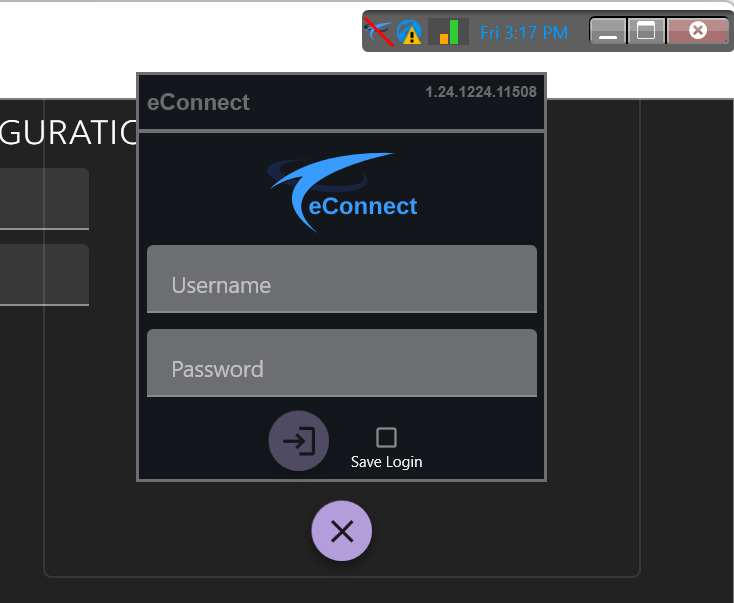
Step 3: User Authentication
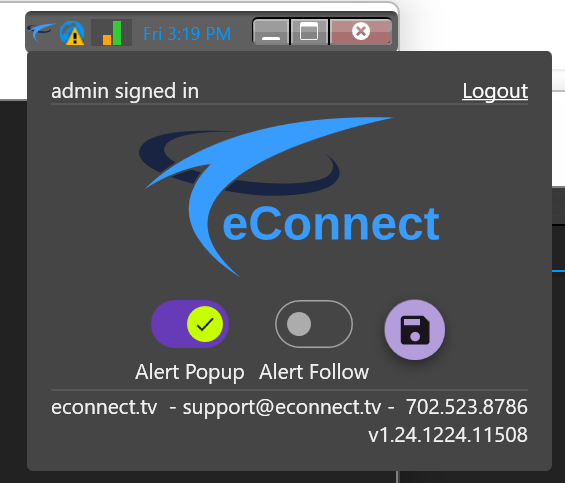
- Initial Login: Click the eConnect icon at the top of the interface
- A slash through the icon indicates the user is not currently logged into eConnect
- Save Credentials: Saving credentials to the current user profile is recommended for optimal experience
- This enables auto-login for future sessions
- This enables auto-login for future sessions
Step 4: Verify Connection
- Successful Login: A successful sign-in will display the eConnect icon as ready
- Check Status: Clicking the icon will show login information and additional details
- Logout Option: The interface provides an option to log out if needed
Step 5: Enable Genetec Entities
- Auto-Detection: Once logged in, eConnect automatically detects installed modules
- Enable Entities: Admin options are presented to enable new entity types within Genetec
- These entities are unique items that can be added to cells on the Monitor page
- Examples include Face Tag Stream for displaying detected faces
- Module Management:
- Enable: Click the Sad Face icon to enable a module
- Disable: Click the Happy Face icon to disable a module
- Note: A module cannot be disabled until all associated entity types are removed from the system
Step 6: Configure User Permissions
Configure user permissions to control access to eConnect features and ensure proper security.
🎯 Next Steps
Once initial configuration is complete, explore these additional admin features:
- 📊 Data Associations - Link camera feeds with eConnect data streams
- 🎥 Face Stream Configuration - Set up facial recognition monitoring
- 🏷️ Tag & Action Management - Configure automated responses
- 📤 Camera Export - Export camera configurations
❓ Need Help?
If you encounter issues during configuration: