Managing User Access
If you have been granted access management permissions, you can manage users and their access to applications through the Cloud Portal.
Accessing Access Management
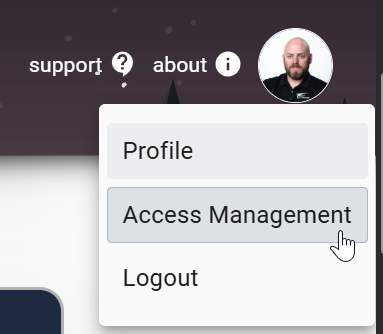
- Click on your user icon in the upper-right corner of the page and select "Access Management"
- This will load all the applications that you have access to manage
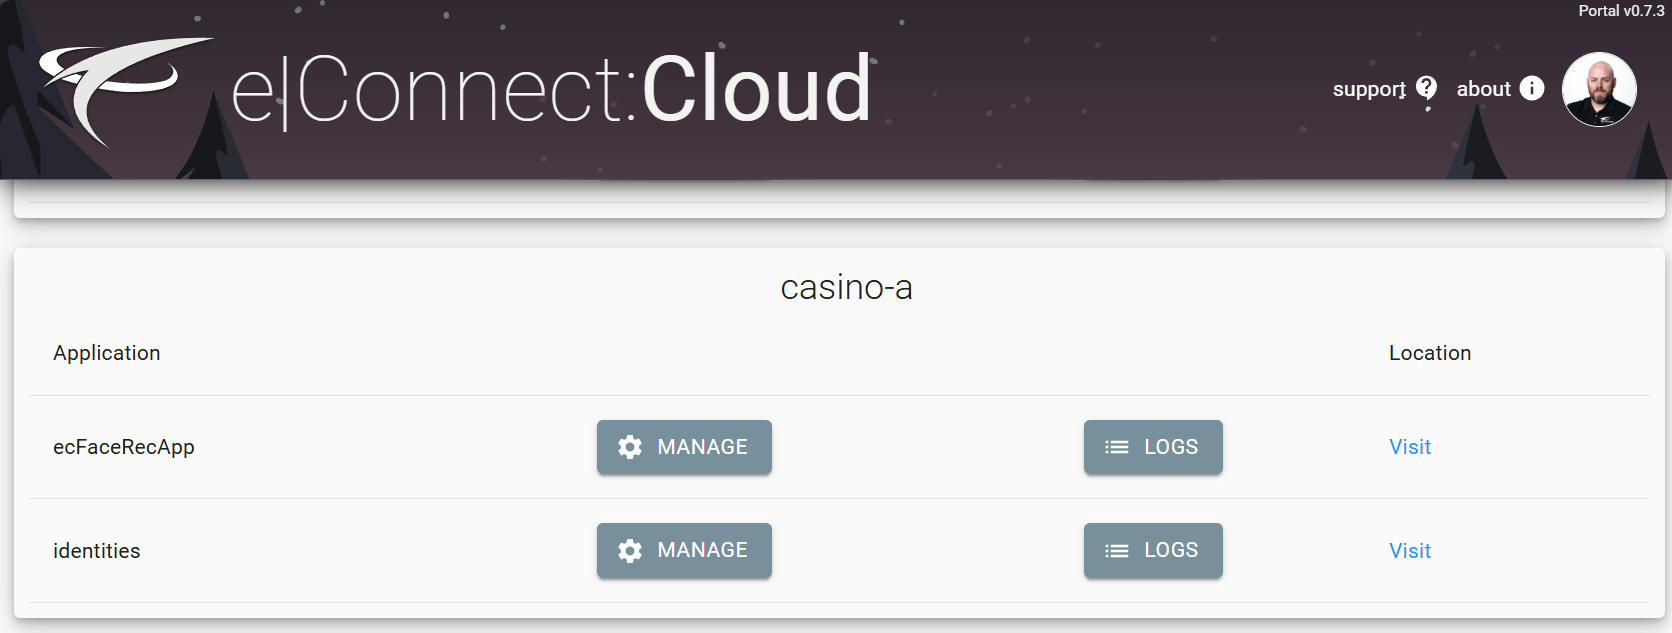
- Find the application you wish to manage and click the Manage button
This will load all users configured for that application, along with their assigned roles.

Managing Existing Users
Once you're viewing the user list for an application, you can manage each user's settings and invite status.
Editing User Settings
To modify an existing user's permissions or settings:
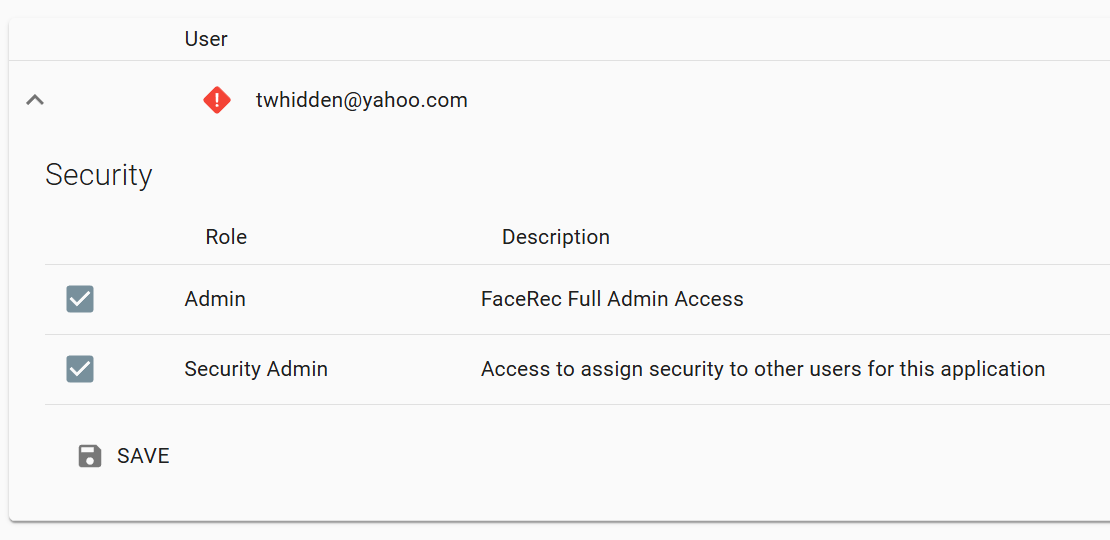
- Click on the dropdown arrow to the left of the user's name
- This will expand the user's details where you can update their role or other settings
Invite Status Indicators
Each user has a status indicator that shows whether they've accepted their invitation:
- Green icon - The user has successfully logged in and accepted the application into their portal. They have active access.
- Red icon - The user has not received the email or their invite has expired. Click the red icon to resend the email invitation.
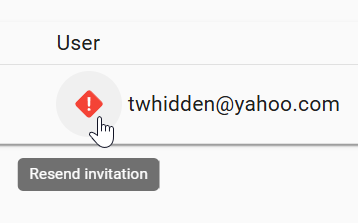

If a user reports they haven't received their invitation, look for the red icon next to their name and click it to resend the invite email.
Adding New Users
To grant a new user access to an application:
- Make sure you have clicked Manage for the application you want to modify, Click the Add User button (upper-right) for the application
- A popup window will appear where you can configure the new user
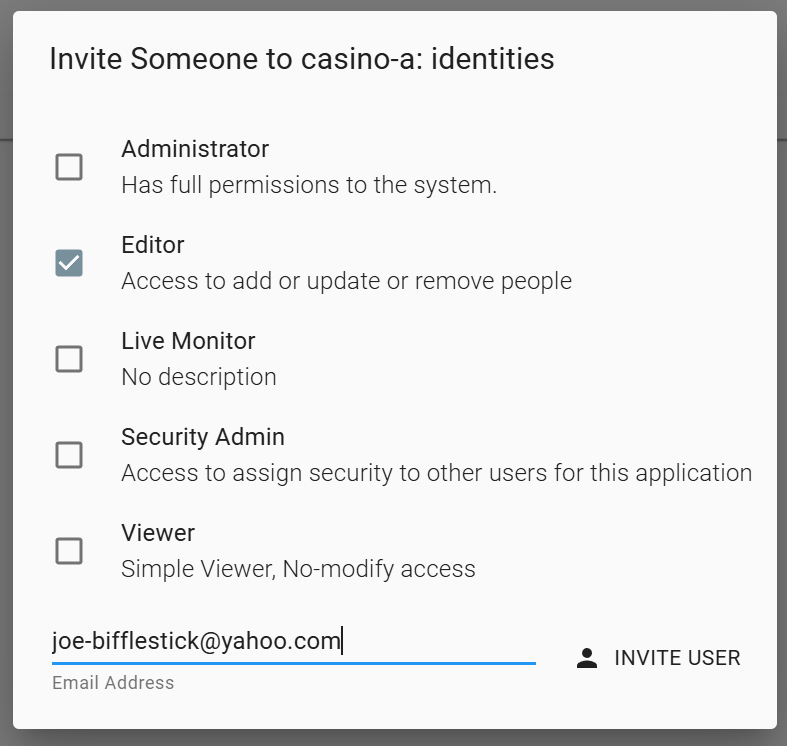
- Select the roles that this person should have for the application
- Enter their email address
- Click Invite User to send them an invitation
The user will receive an email invitation to access the application. If they do not have an eConnect account yet, one will be automatically created for them when they accept the invite and complete the sign-up process.
When inviting new users, make sure to select the appropriate role that matches their job responsibilities and required access level.
Access Auditing
For compliance and security purposes, you can review high-level access logs for each application.
Viewing Access Logs
- From the Access Management page, locate the application you wish to audit
- Click the LOGS button located to the right of the Manage button

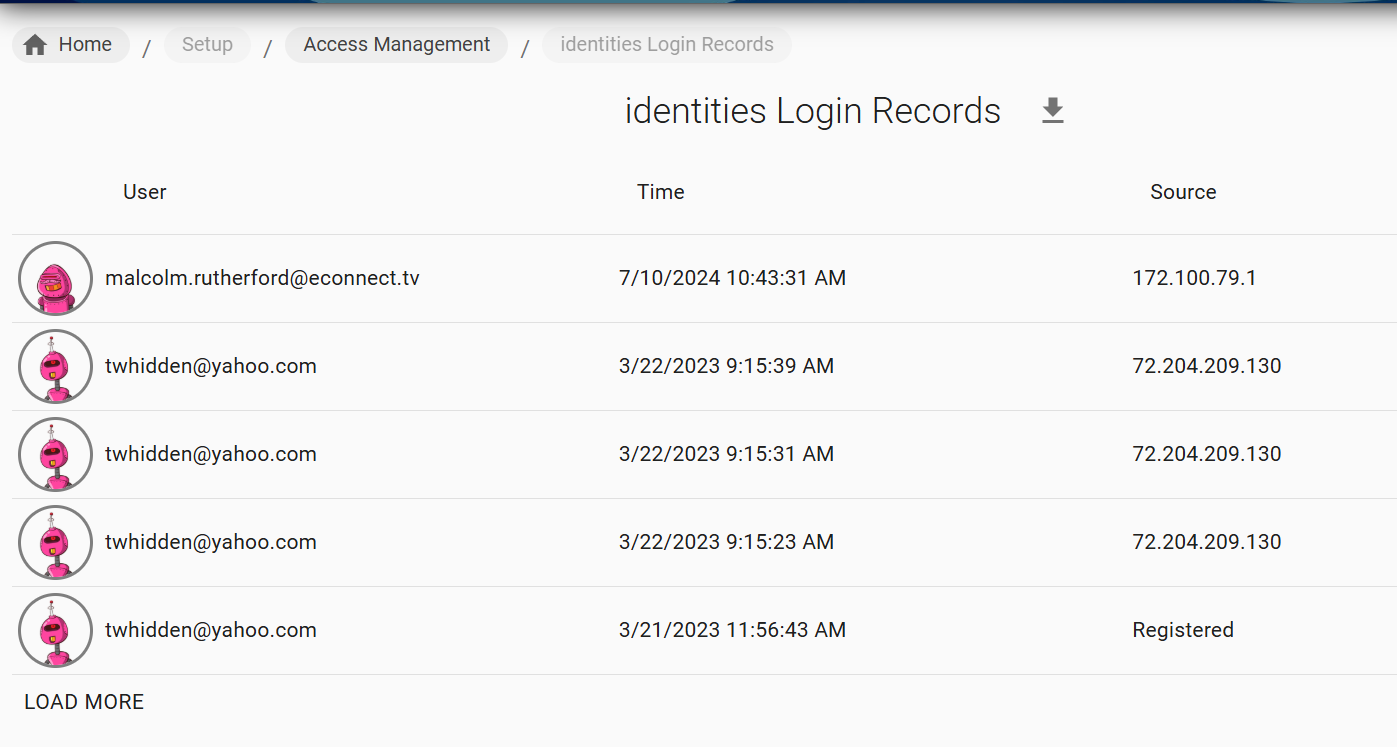
- The access log will display a list of access events for the application
Access Log Information
The access logs provide high-level access information showing when the application was accessed. Each log entry displays:
- Username - The user who accessed the application
- Time - The date and time of access
- IP Address - The IP address from which the application was accessed
Access logs show only high-level access events. Detailed user actions within the application are not recorded in these logs. For detailed activity logging, refer to the specific application's audit features.
Next Steps
Learn more about specific user roles and permissions in each application: