Face Recognition Tools
The Face Recognition Tools in the eConnect Mirasys integration provide advanced facial recognition capabilities directly within the Mirasys interface. These tools allow users to:
- Search by face image
- Search by metadata/data
- Manage subjects with tagging features
Prerequisites
- Ensure the eConnect integration is installed and configured in Mirasys.
- You must have the appropriate permissions to access facial recognition tools.
- You must have the eConnect Facial Recognition Module enabled.
Accessing Face Recognition Tools
Step 1: Locate the Tools
- Open the Mirasys client interface.
- Look for eConnect Tools in the main toolbar or menu. This may be named differently based on your Profile configuration. You will also notice a Plugin with that name which is also usable.
- Click to open the tools, then select "Face Tools"

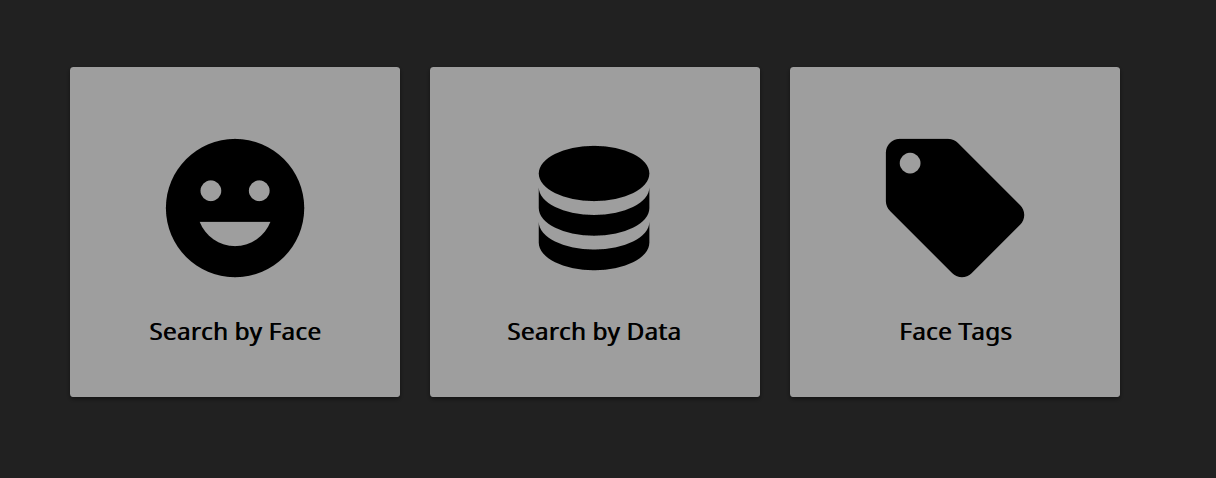
Search by Face
The Search by Face feature allows you to upload an image to find and/or enroll matching faces in the database.
How to Search by Face:
- Navigate to the Search by Face section.
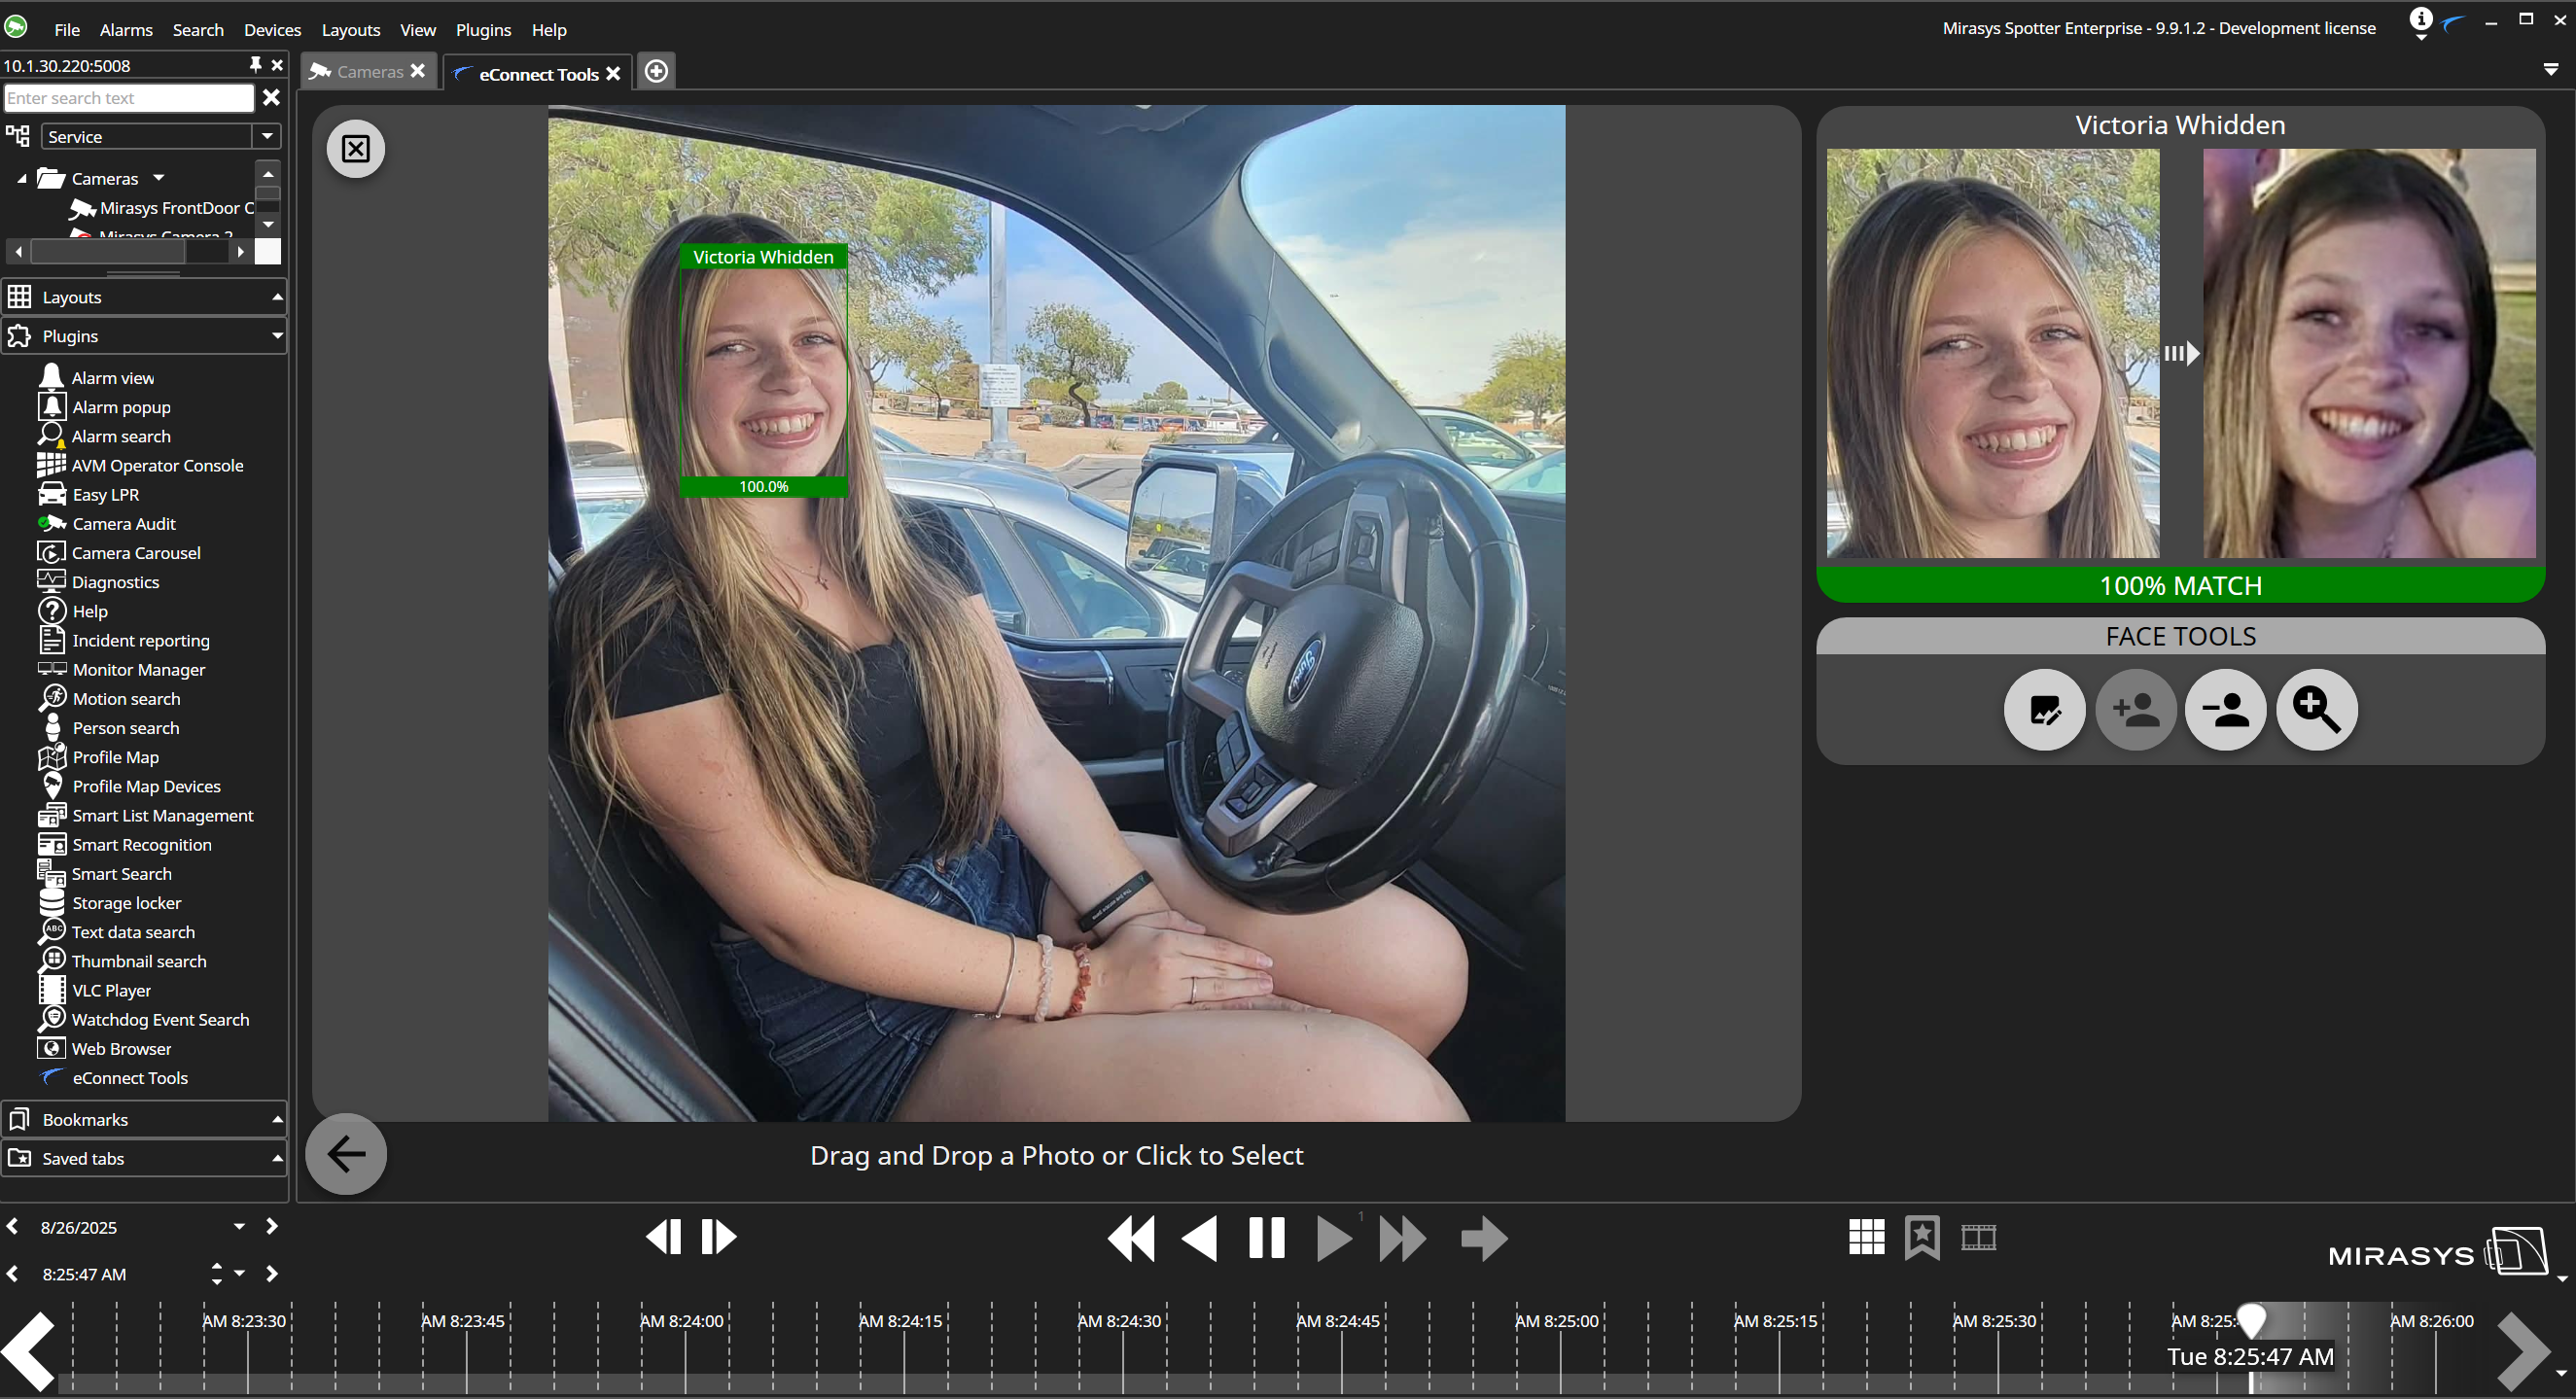
- Upload a photo to initiate the search.
- The system will process the image and return potential matches.
- Review the search results and confidence scores.
- Click on any result to open the full face profile with additional details.
Select Face Tools
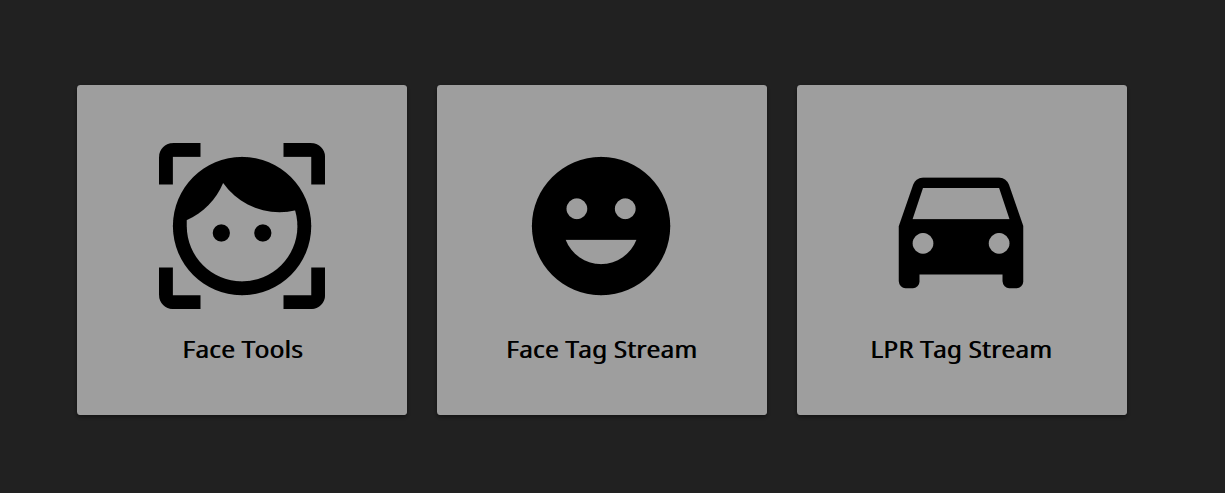
Then click on the desired tool. In this case, Search by Face
Click on the Face Icon and upload a photo
Search by Data
The Search by Data feature enables searching for subjects using metadata and text-based criteria.
How to Search by Data:
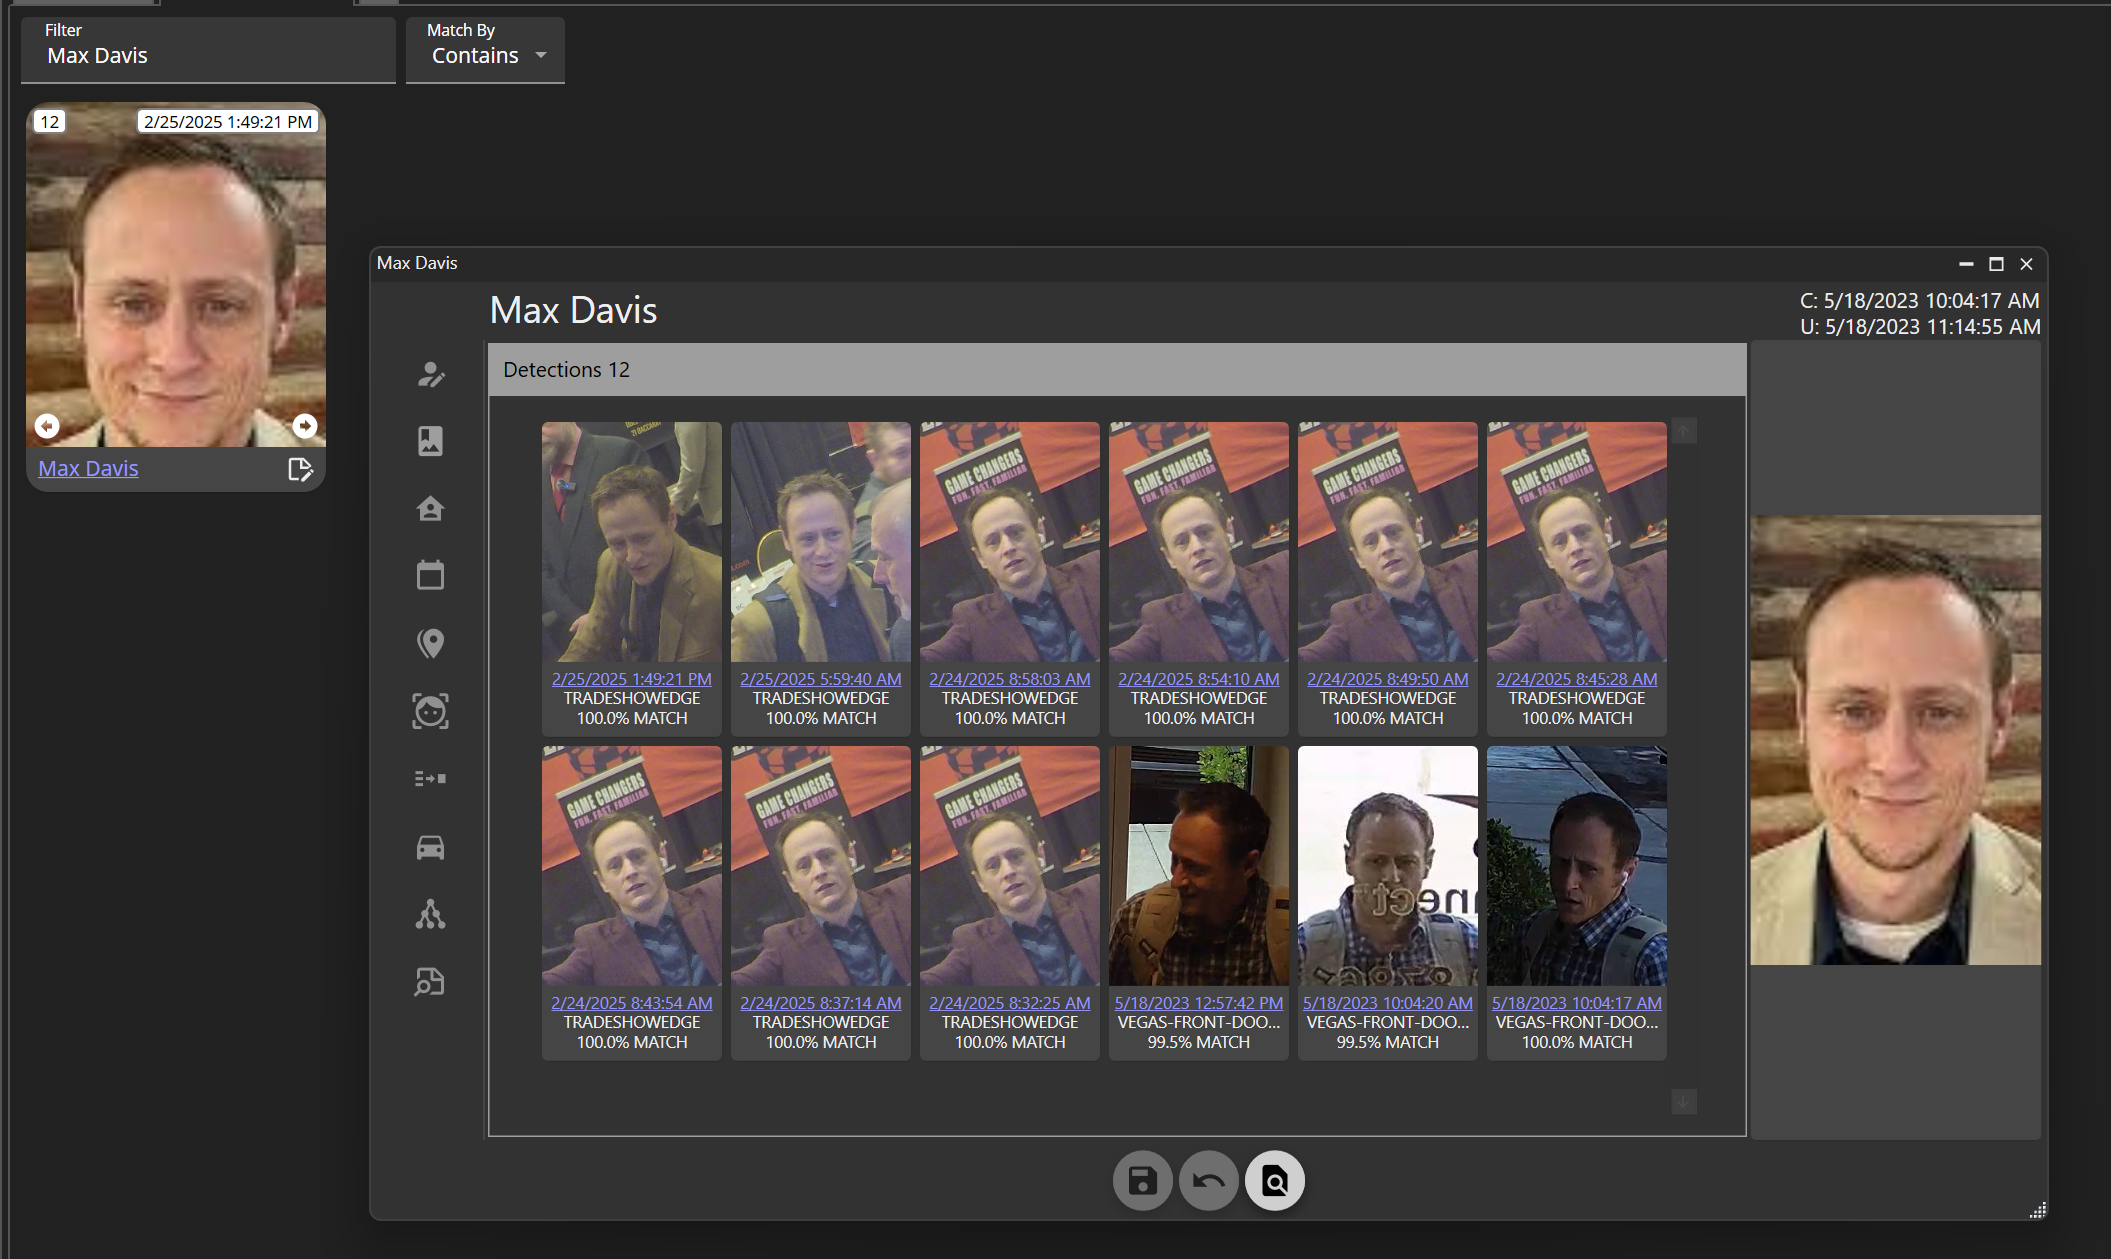
- Go to the Search by Data section.
- Enter relevant search parameters such as:
- Last name
- First name
- Case number
- Notes
- Apply filters to narrow down results.
- View the filtered results matching your search criteria.
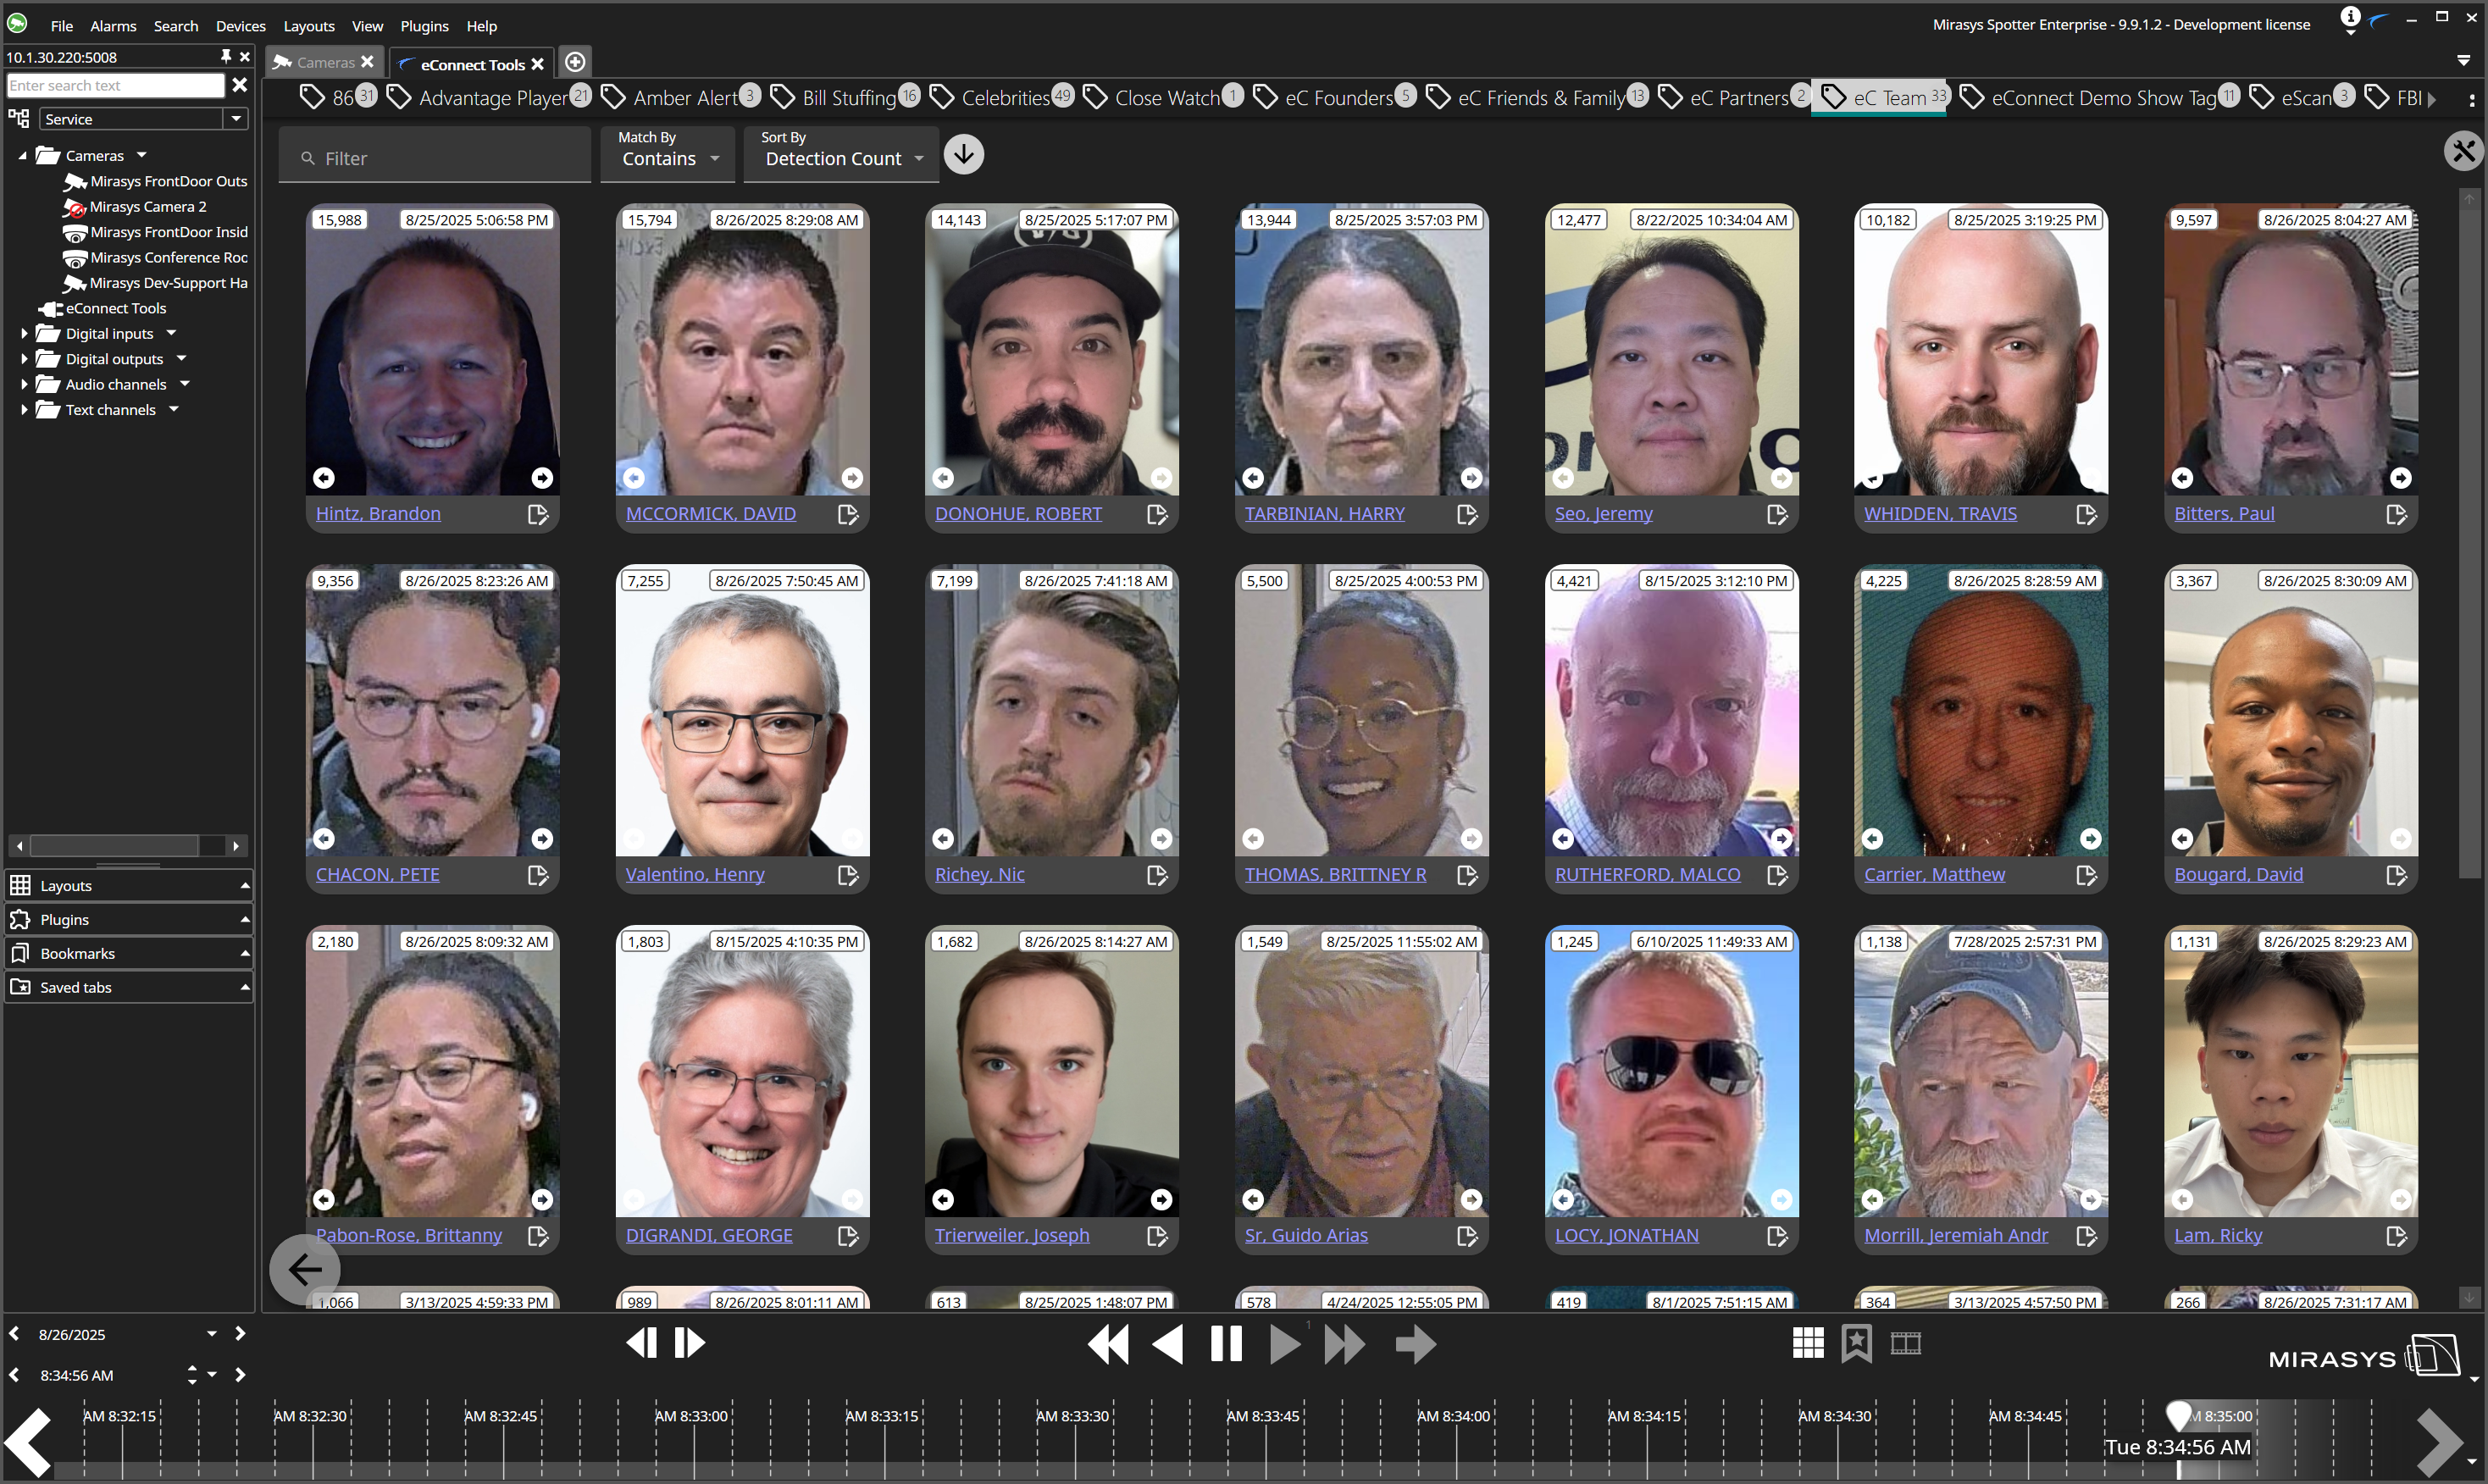
Subject Management (Tags)
The Subject Management system allows you to organize and categorize faces using a flexible tagging system.
Managing Subject Tags:
- Select a subject from search results or browse the subject database.
- Open the Subject Profile to view current tags and information.
- Add new tags by:
- Typing in the tag field
- Selecting from existing tag categories
- Creating custom tags for specific use cases
- Remove tags by clicking the delete icon next to unwanted tags.
- Save changes to update the subject profile.
Tag Categories Examples:
- Location-based: "Main Entrance", "VIP Area", "Loading Dock"
- Security-related: "Watch List", "Excluded Patron", "Advantage Player"
- Operational: "Employee", "Visitor", "Contractor"
- Custom categories based on your specific needs
Best Practices
For Search by Face:
- Use clear, well-lit images for better matching accuracy
- Multiple angles of the same person can improve search results
For Search by Data:
- Use consistent naming conventions for better search results
For Subject Management:
- Establish a consistent tagging strategy across your organization
- Use descriptive tag names that are easy to understand
- Regularly review and update tags as operational needs change
- Train users on your organization's tagging conventions